Your cargo is missing, but the seal number is correct. Without proof of how the theft occurred, your claim is denied, leaving you with a complete financial loss and a damaged reputation.
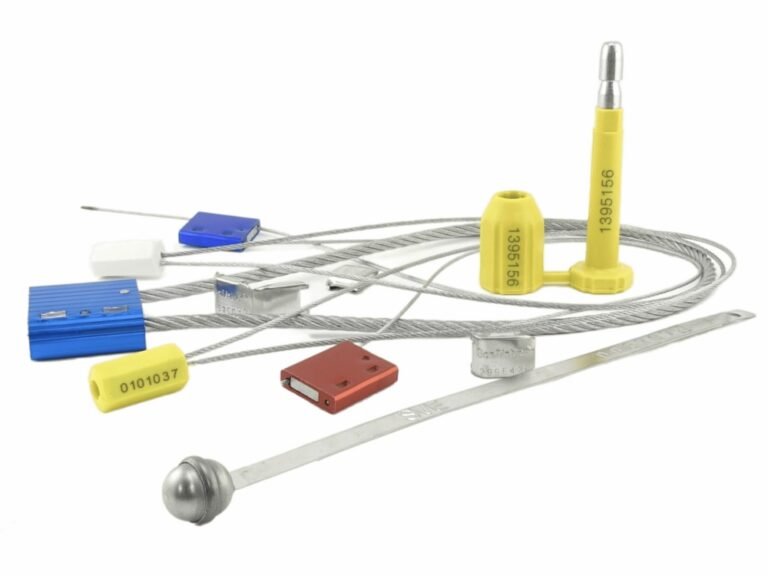
To win a claim, you need evidence. That requires learning how to conduct a forensic inspection of the metal strap ball seal itself, a process that goes far beyond simply matching a number to a document.

After more than a decade in this business, I tell every client the same thing: inspecting a seal isn't a passive check; it's an active investigation. Think of that small metal seal as a book telling the story of the container's journey. A tamperer tries to rewrite a chapter to hide their crime. This guide will teach you how to become an expert reader—how to perform the actions that uncover those hidden edits and find the truth.
Step 1: How to Perform the Critical Number Verification
You're under pressure to unload a truck quickly. A quick glance is all you give the seal. This is the single most common and costly mistake, as it breaks your chain of custody from the start.
To properly verify a seal, you must follow a deliberate, multi-step process. This isn't just about matching numbers; it's about creating your first piece of undeniable evidence.

Any discrepancy here, no matter how minor, makes all other inspection steps irrelevant. I've seen claims worth tens of thousands of dollars denied because this first step was rushed. To perform it correctly, do the following every single time:
- Read the Document First: Look at the Bill of Lading or manifest and read the seal number aloud or to yourself. This fixes the correct number in your mind.
- Read the Seal Second: Now, look at the physical seal on the container and read its number.
- Compare Methodically: Verbally confirm that the number on the seal is a 100% match to the one on the document. Do not accept a "close enough" match.
- Create Photographic Evidence: Before cutting, use your phone to take a clear, well-lit photo of the intact seal with the number clearly legible. Ensure the container number is also visible in a wider shot. This is your baseline proof.
Step 2: How to Detect Forged Markings with a Close Look
The number is a perfect match, but your gut tells you something is wrong. Trust that feeling. A sophisticated criminal will try to create a counterfeit seal, but forgeries always have flaws.
To find a forgery, you must conduct a close-up visual analysis of the number itself, looking for imperfections that betrays a criminal's handiwork.

This is how you begin to read the fine print of the seal's story. Use a flashlight, even in daylight, to catch subtle details.
- Analyze the Font and Spacing: Examine each character. A real seal is laser-etched by a machine, creating perfect consistency. Look for any numbers or letters that are a slightly different size, font, or are not perfectly aligned on the same horizontal line.
- Investigate the Etching Quality: Angle the seal in the light. A legitimate etching is clean and sharp. A forgery might appear shallow, cloudy, or scratched. Look for faint traces of a previous number that may have been filed or sanded off.
- Feel the Surface: Run your fingertip over the numbers. Your skin is sensitive enough to detect unusual roughness or a slight depression, indicating the surface was chemically or physically altered before being re-marked.
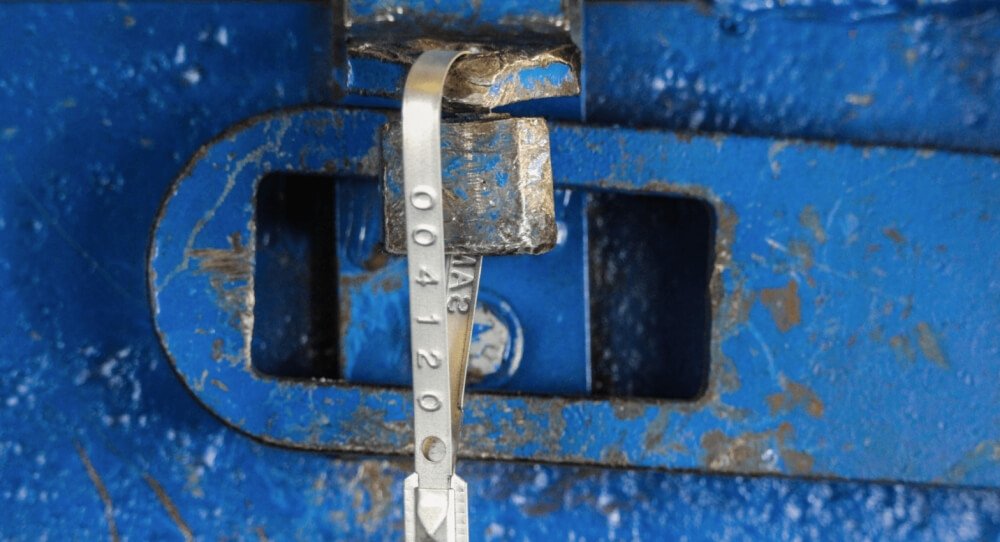
Step 3: How to Uncover Hidden Tool Marks on the Seal Body
The number looks legit, but an expert can bypass a seal's internal lock and re-secure it. They almost always leave microscopic traces of their tools behind.
To find these traces, you must perform a targeted forensic inspection on the most common points of attack: the locking head and the strap entry point.

You are now looking for signs of a forced entry.
- Examine the Locking Head: Scrutinize the entire metal "ball" housing. Look for any dents, unusual crimp marks, or scratches. A thief might use pliers to squeeze the housing in an attempt to dislodge the internal locking ball, leaving subtle tool marks.
- Inspect the Strap Entry Slot: This is the most critical area. A common bypass method involves inserting a thin metal shim into the slot to release the lock. Shine a flashlight directly into this opening. Tilt the seal back and forth. Look for fresh scratches on the inside walls or any deformation of the slot's edges. Any mark that isn't from the original manufacturing process is a huge red flag.
Step 4: How to Execute the 'Tug and Twist' Test for Lock Integrity
The seal passes all visual tests. It looks perfect. But it might have been incorrectly locked or internally defeated. This physical test is how you confirm the lock works.
To verify the lock, you must apply firm, specific physical force. This action reveals slack or damage that a purely visual inspection can never find.
Here is how to perform the test correctly:
- Grip Firmly: Get a solid hold on the seal's strap with one hand and the locking head with the other.
- Tug Steadily: Pull the two ends apart with about 20-30 lbs of force (a firm, strong pull). The seal should not give at all. If the strap pulls out, it was never locked properly.
- Twist with Force: While maintaining the pull, try to twist the locking head. A secure locking mechanism will not allow the head to rotate around the strap. If it spins freely or feels loose, the internal components have been compromised.
If the seal passes—no give, no rotation—the lock is engaged.
Step 5: How to Act When You Suspect Tampering
You’ve found it: a scratch, a loose lock, a forged number. What you do in the next five minutes will determine whether you win or lose your claim.
To preserve your case, you must immediately switch from investigator to evidence custodian. Following a strict protocol is the only way to make your findings legally valid.

If you suspect tampering, execute this emergency protocol for evidence preservation:
- STOP. Do not cut or remove the seal. You are now at a potential crime scene.
- DOCUMENT. Use your phone to take extensive photos and videos. Capture the suspected tampering up close and from multiple angles. Take wider shots that include the seal, the container doors, and the container number.
- NOTIFY. Immediately call the carrier/trucking company, the shipper, and your insurance provider. Inform them that you have a tampered seal and will not be unloading until you receive instructions. Use the word "tampered."
- WITNESS. Ensure the driver is present as a witness. State your findings clearly (e.g., "The seal is loose," "The number looks scratched") and note their response. If possible, have them sign a brief statement on the delivery paperwork acknowledging the seal's condition.
Conclusion
Stop just checking seals—start investigating them. By learning how to perform these five steps, you transform yourself from a potential victim into the expert who can read the story, find the truth, and protect your company's assets.
Get Seals That Tell a True Story with ProtegoSeal
Your investigation is only as good as the evidence you're examining. At ProtegoSeal, we engineer our metal strap seals with robust locking mechanisms and clear, laser-etched markings that are easy to read and hard to forge. Contact us to get the reliable seals your security protocol deserves.